BODY SEQUENCE:
4→9→1→3→2→7→6→5→0→8
THE TEN STEPS
- 4 — Chest: Draw the trident. Establishes chest box and clavicle line.
- 9 — Triangles: Mark the arm and leg triangles. Defines the stance.
- 1 — Spine: Connect chest to pelvis. Establish full figure height.
- 3 — Pelvis: Draw the hip bowl. Set its tilt — determines weight distribution.
- 2 — Legs: Draw both S-curves from hip socket to ground.
- 7 — Feet: Add the 7-foot shapes at the base of each leg.
- 6 — Arms/Muscles: Add the muscle 6s along arms and torso.
- 5 — Hands: Place 5-shaped hand blockins at ends of arms.
- 0 — Joints: Add zero-circles at every joint connection point.
- 8 — Head: Place the 8-head at top of spine. Add eye line and facial mass.
Follow this sequence every time you begin a figure. Not sometimes — every time. The sequence is specifically ordered so that each element you place prepares the foundation for the next one. The chest (4) tells you where the shoulder triangles (9) go. The triangles tell you where the spine (1) goes. The spine tells you where the pelvis (3) goes. And so on, all the way to the head.
TRY THIS — 10 MINUTESSet a timer for 5 minutes. Draw the full rough figure using the sequence from memory. Do not refine anything — just place each element in sequence. When the timer goes off, set it aside and immediately start another. Do this five times in a row. After five rounds the sequence should start feeling like a recipe you know in your hands, not just your head.
REFERENCE GALLERY
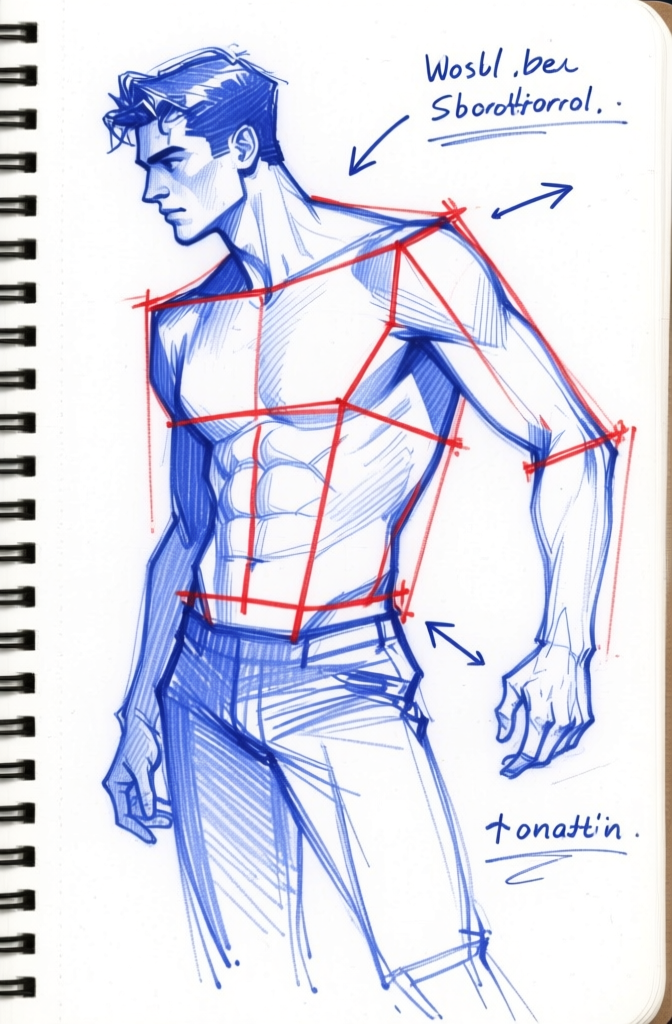
Sketchbook figure study with annotations
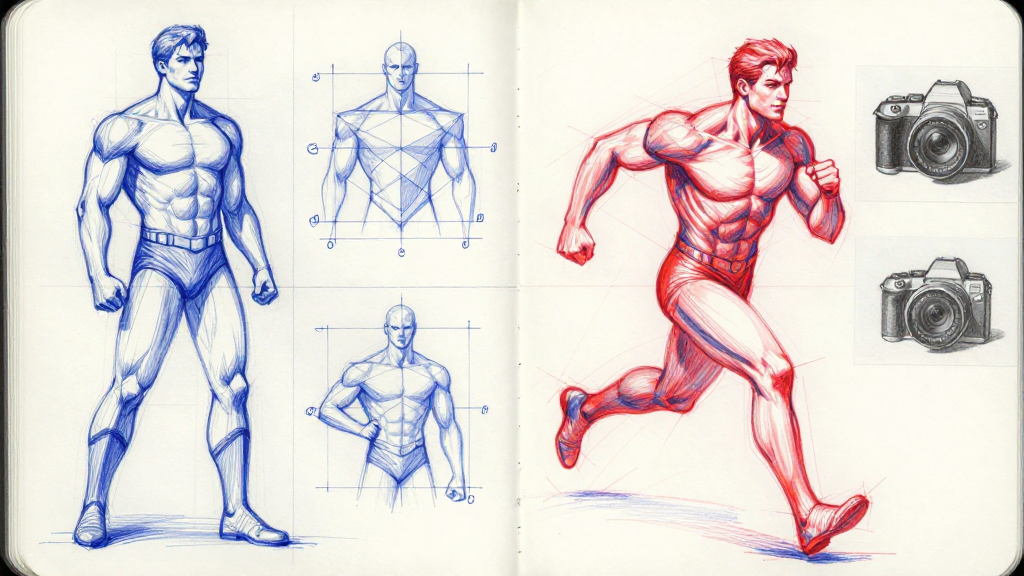
Wireframe and rendered figure
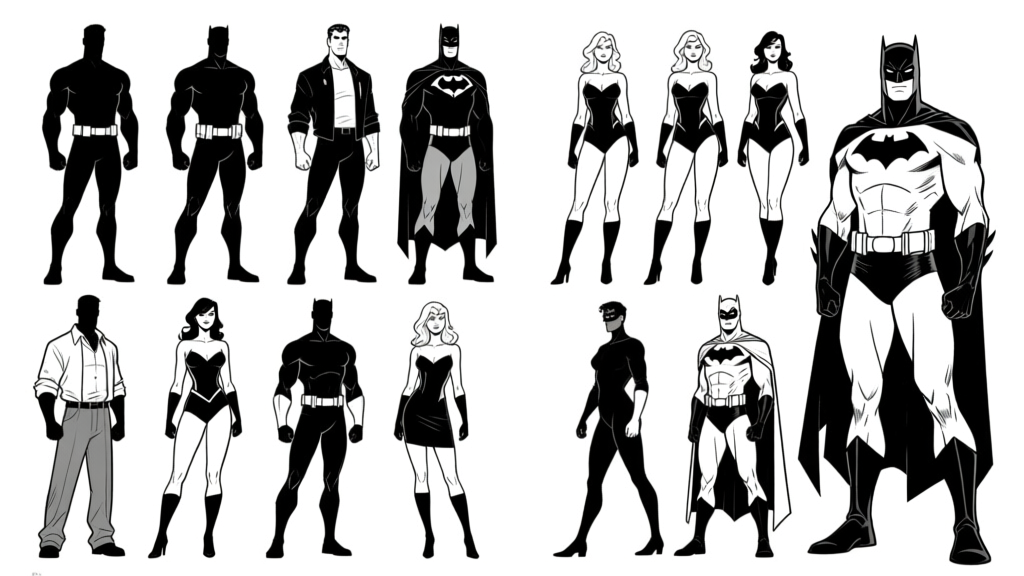
Full hero character silhouette lineup
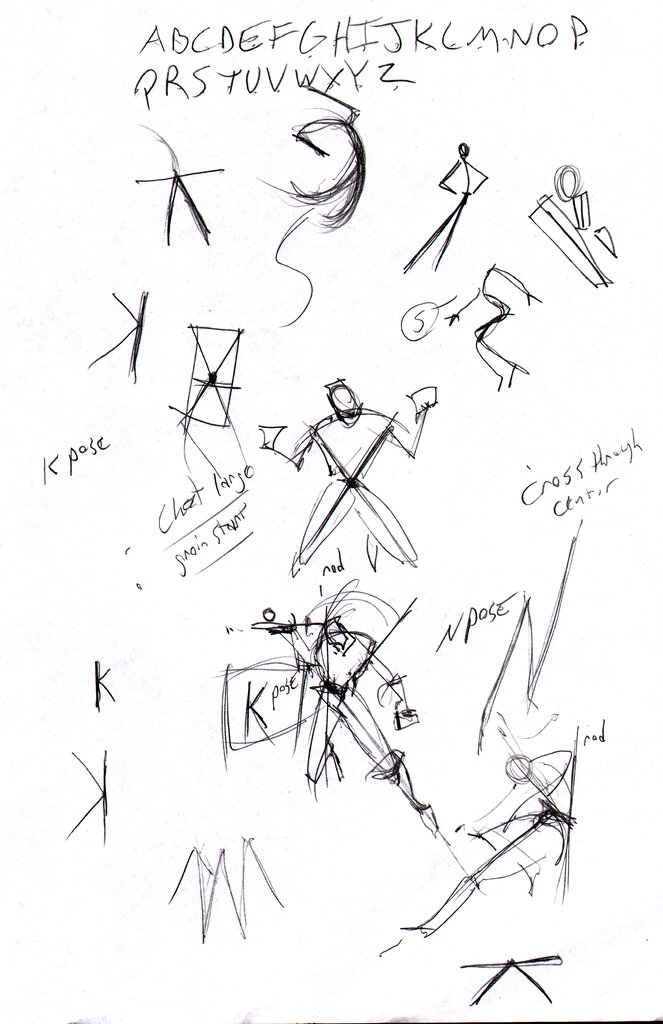
Alphabet-to-gesture invention method
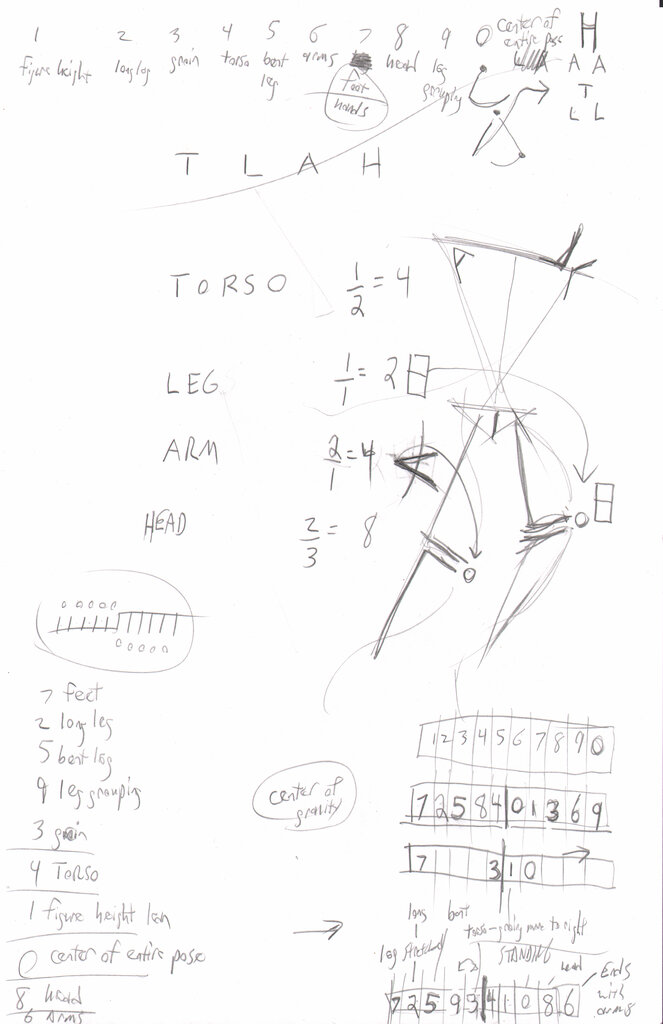
TLAH formula, digit-to-body-part table
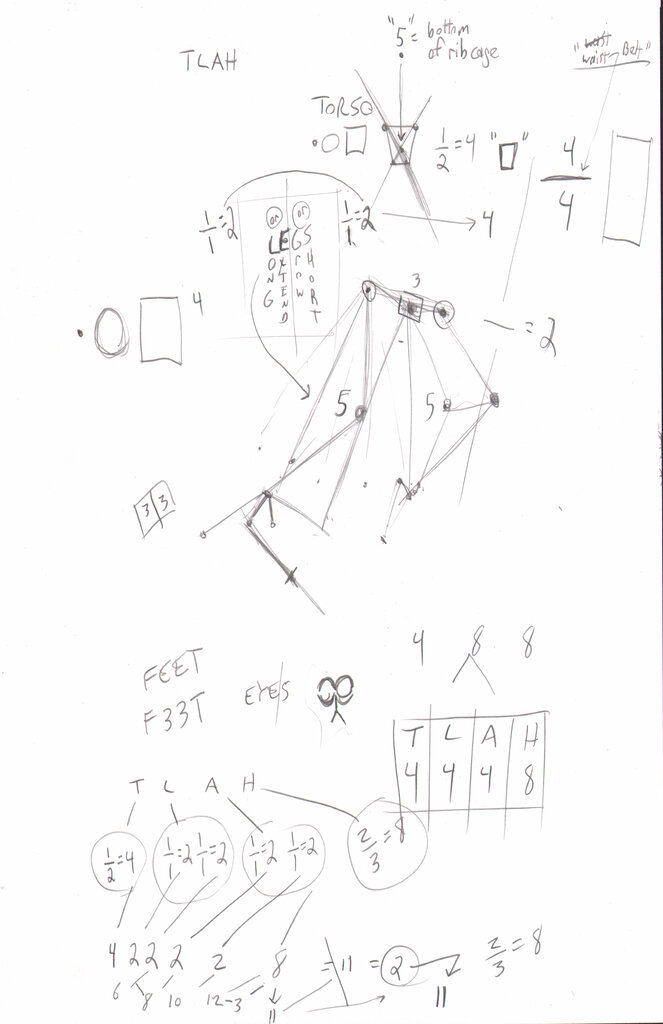
TLAH full working, TCAH matrix
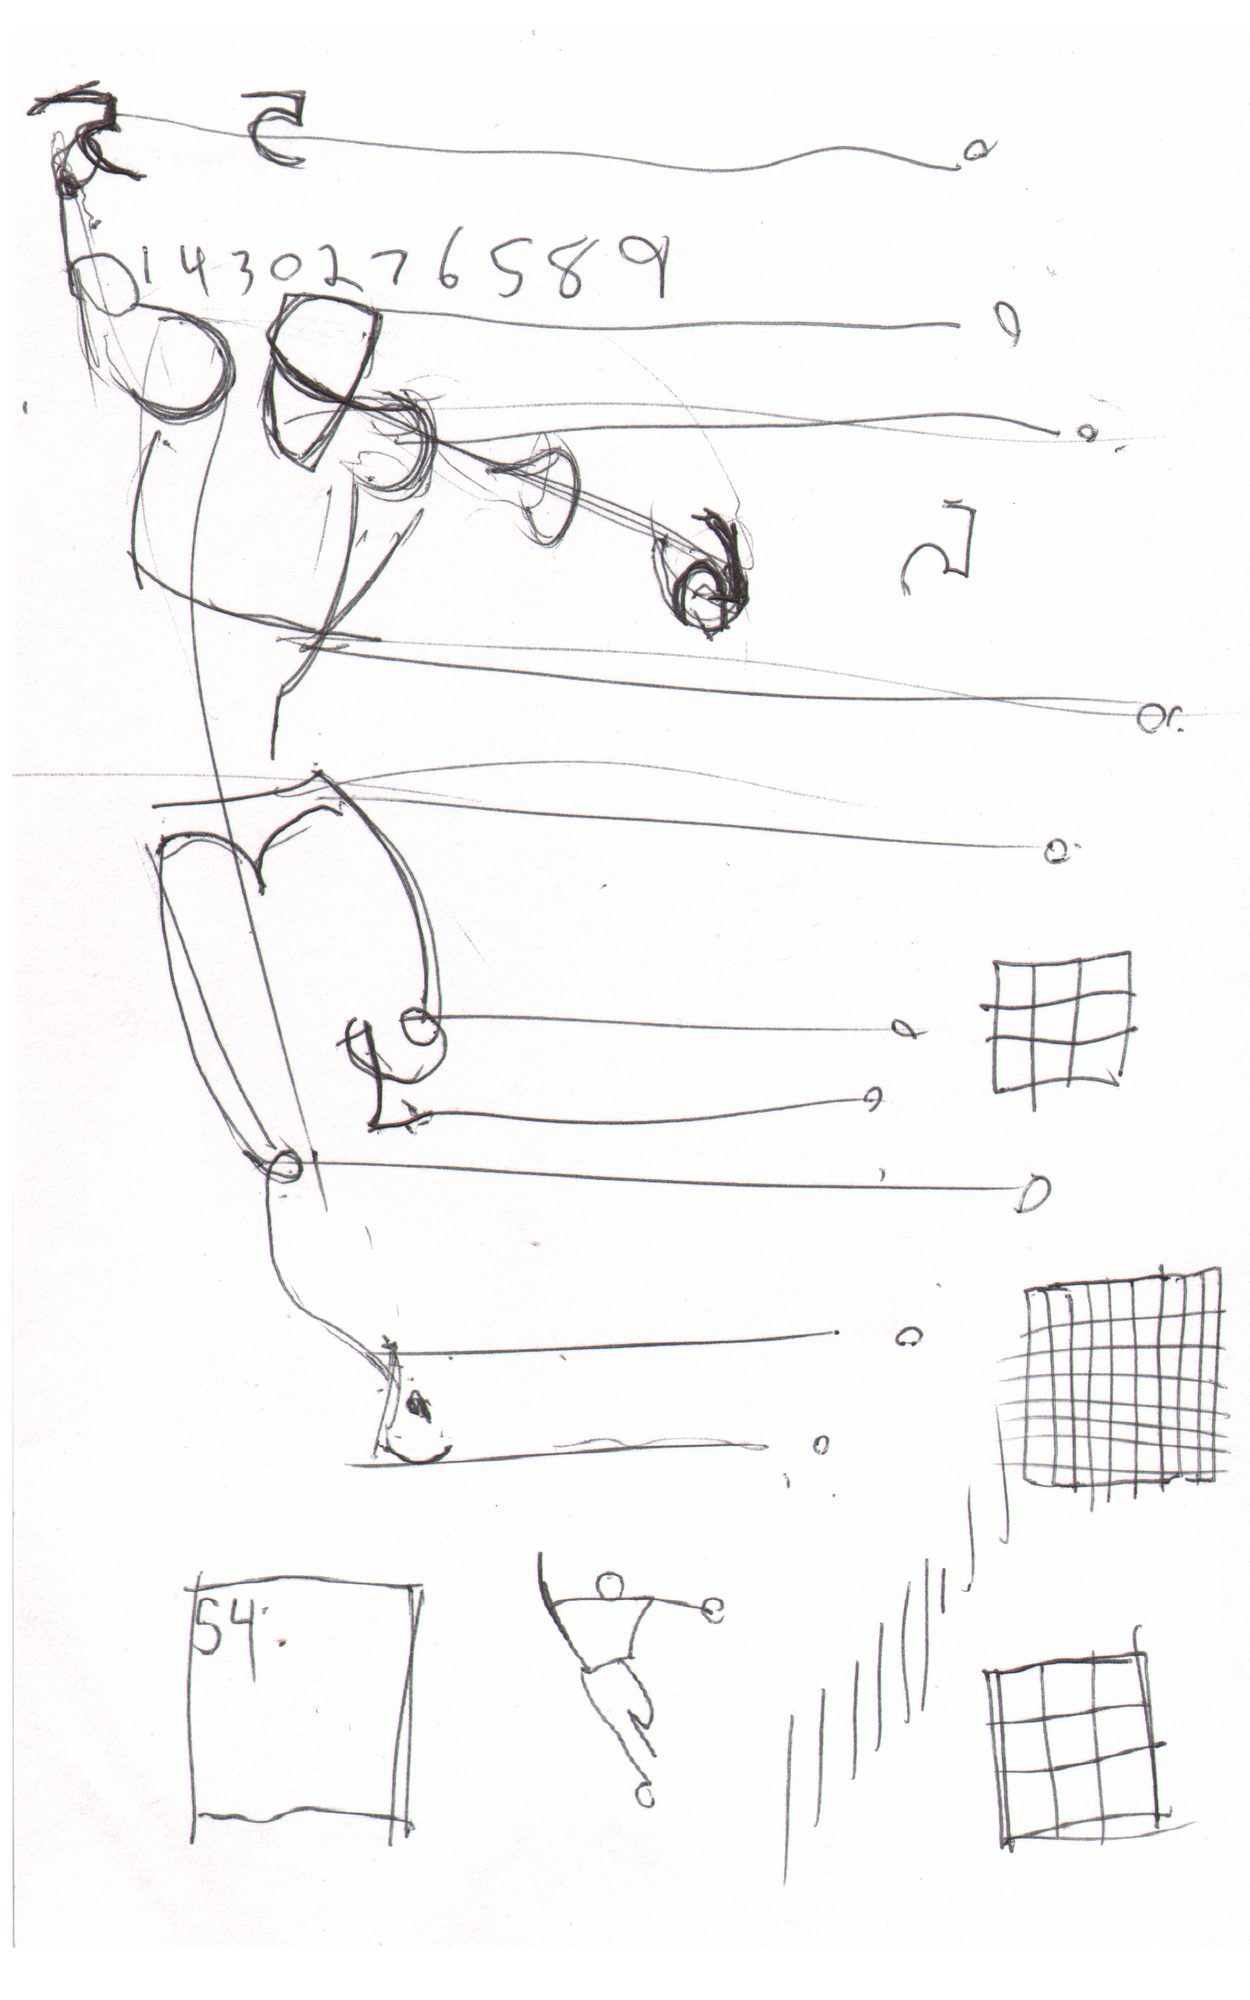
Figure with digit annotations and grid
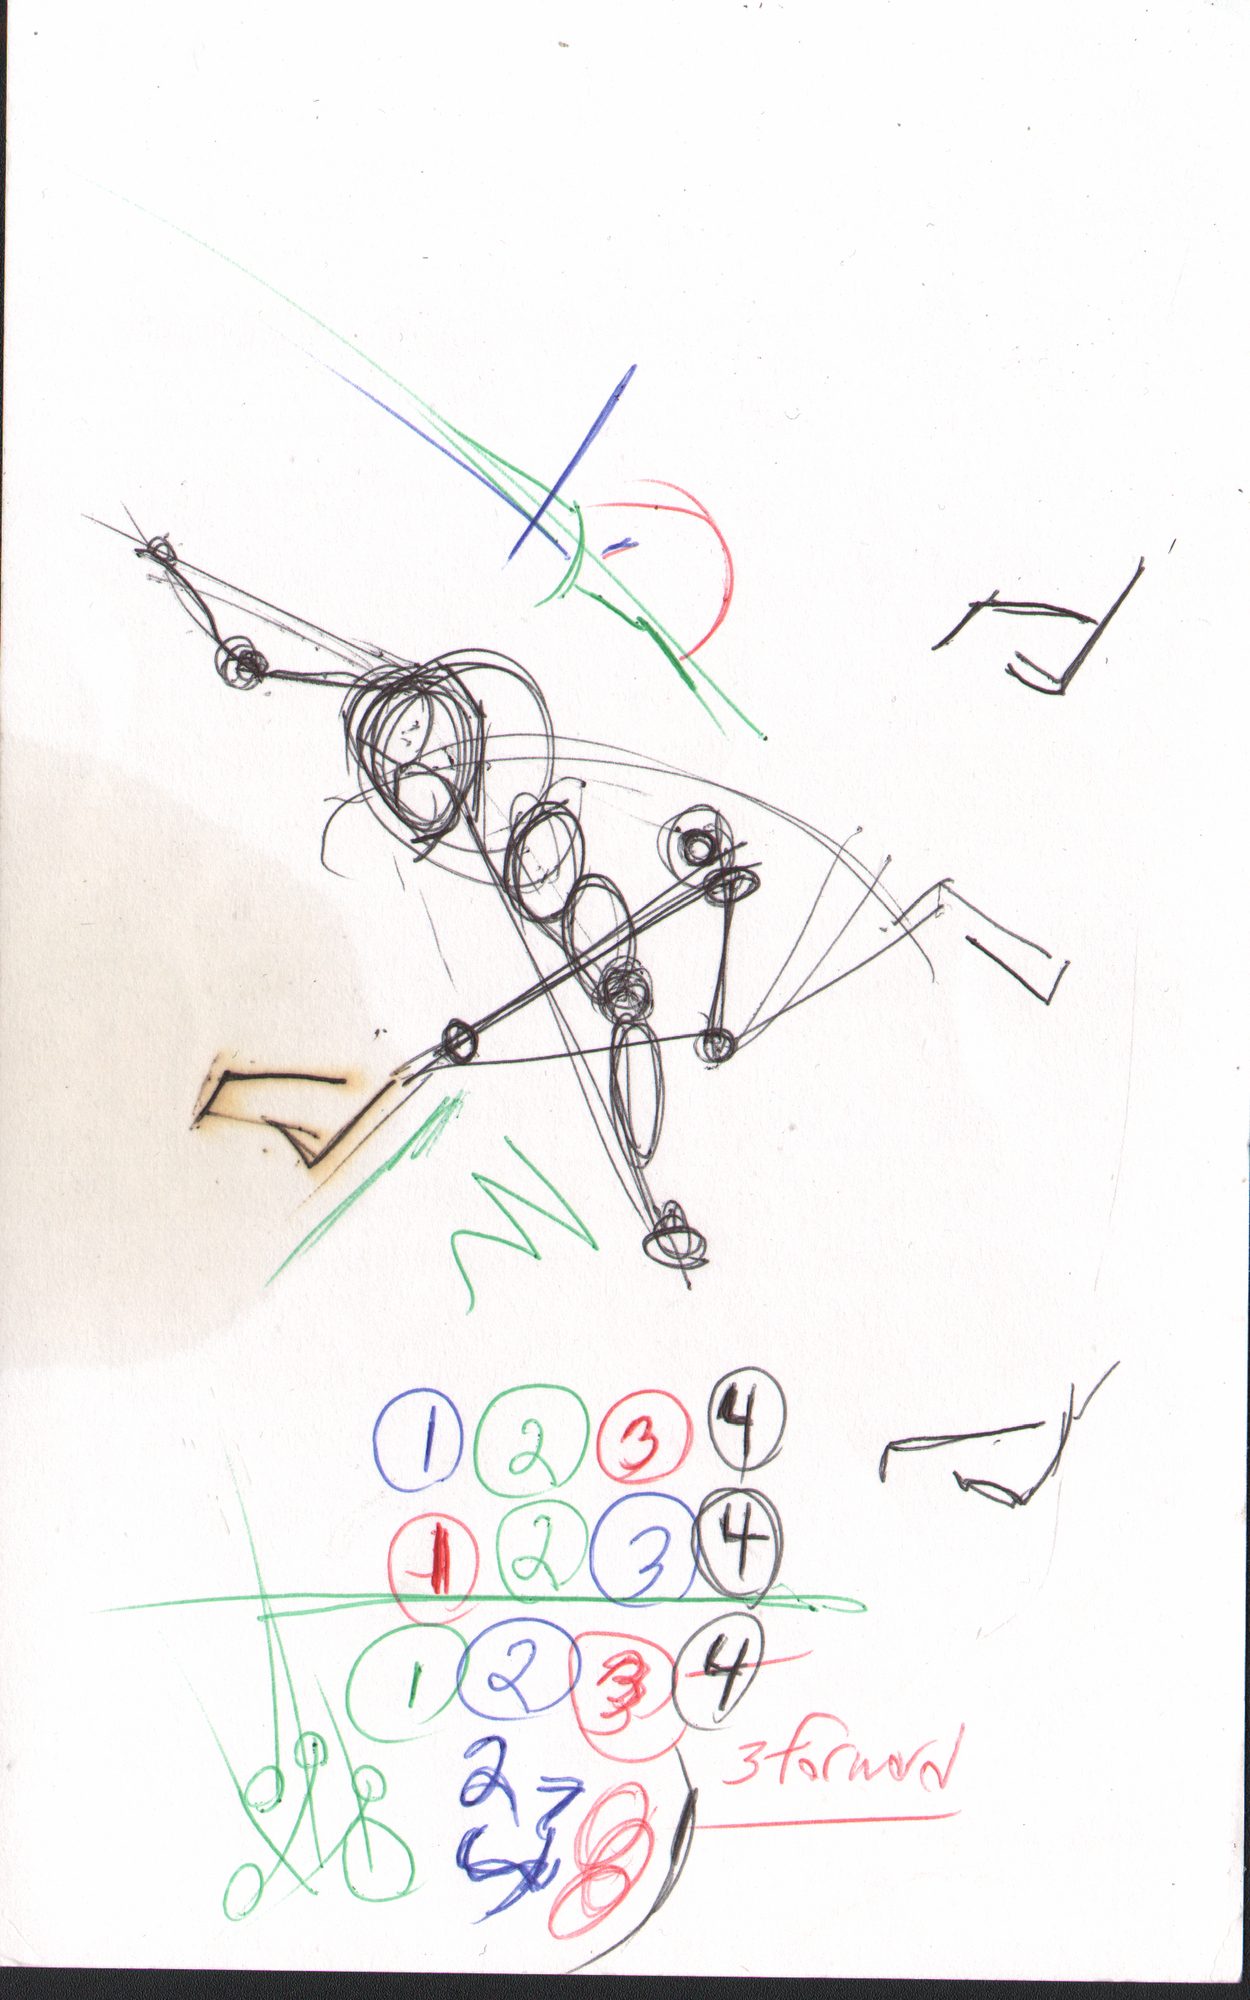
Stick figure with circled digit numbers + T-LAW