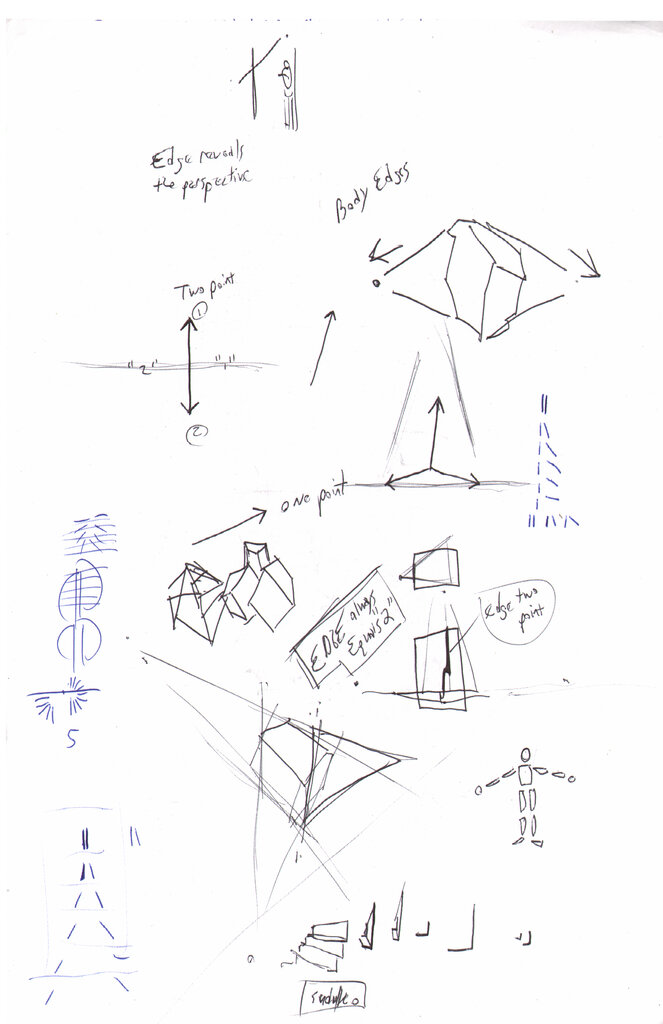
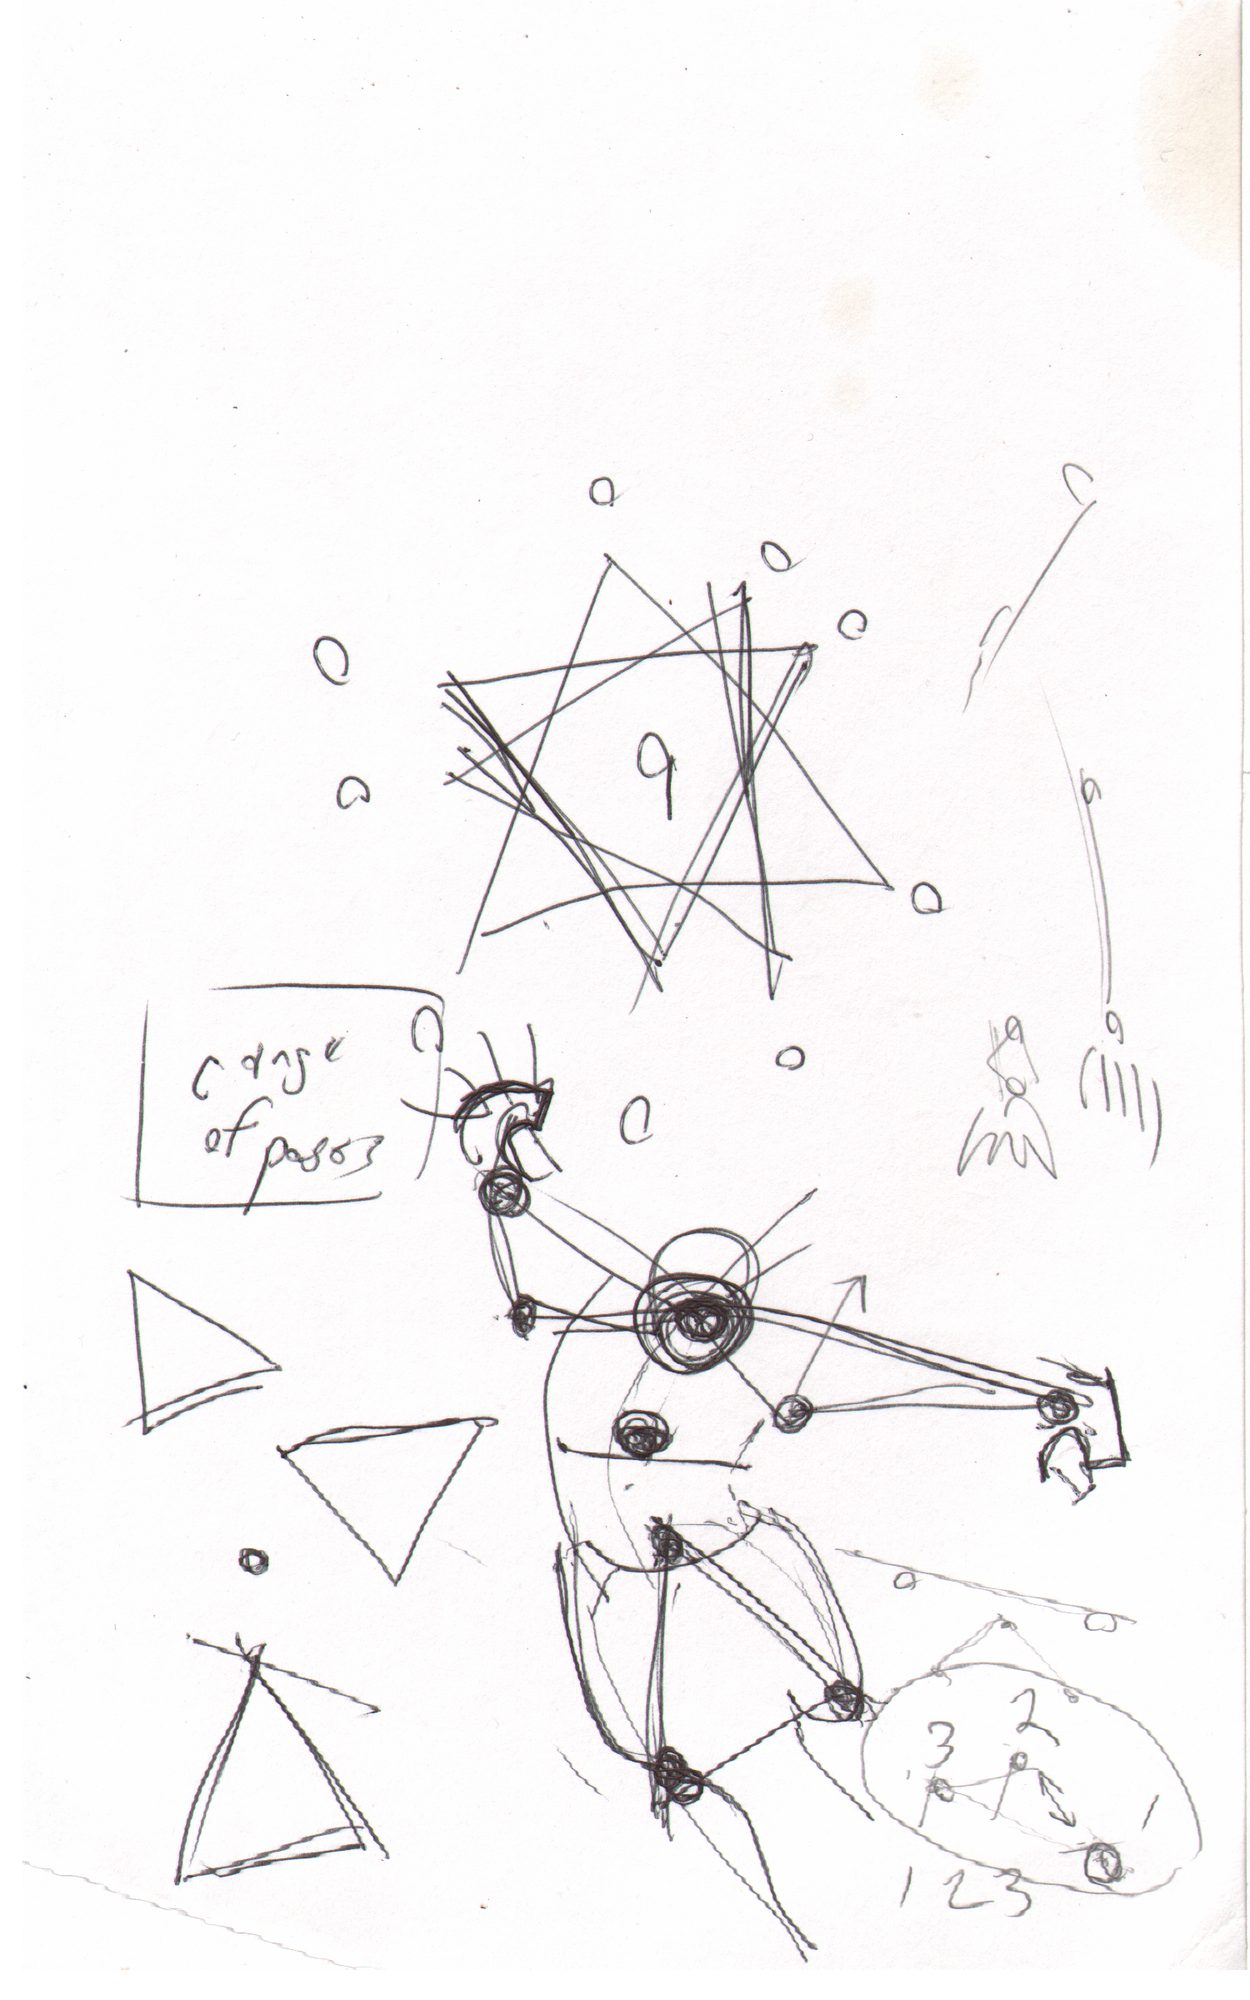
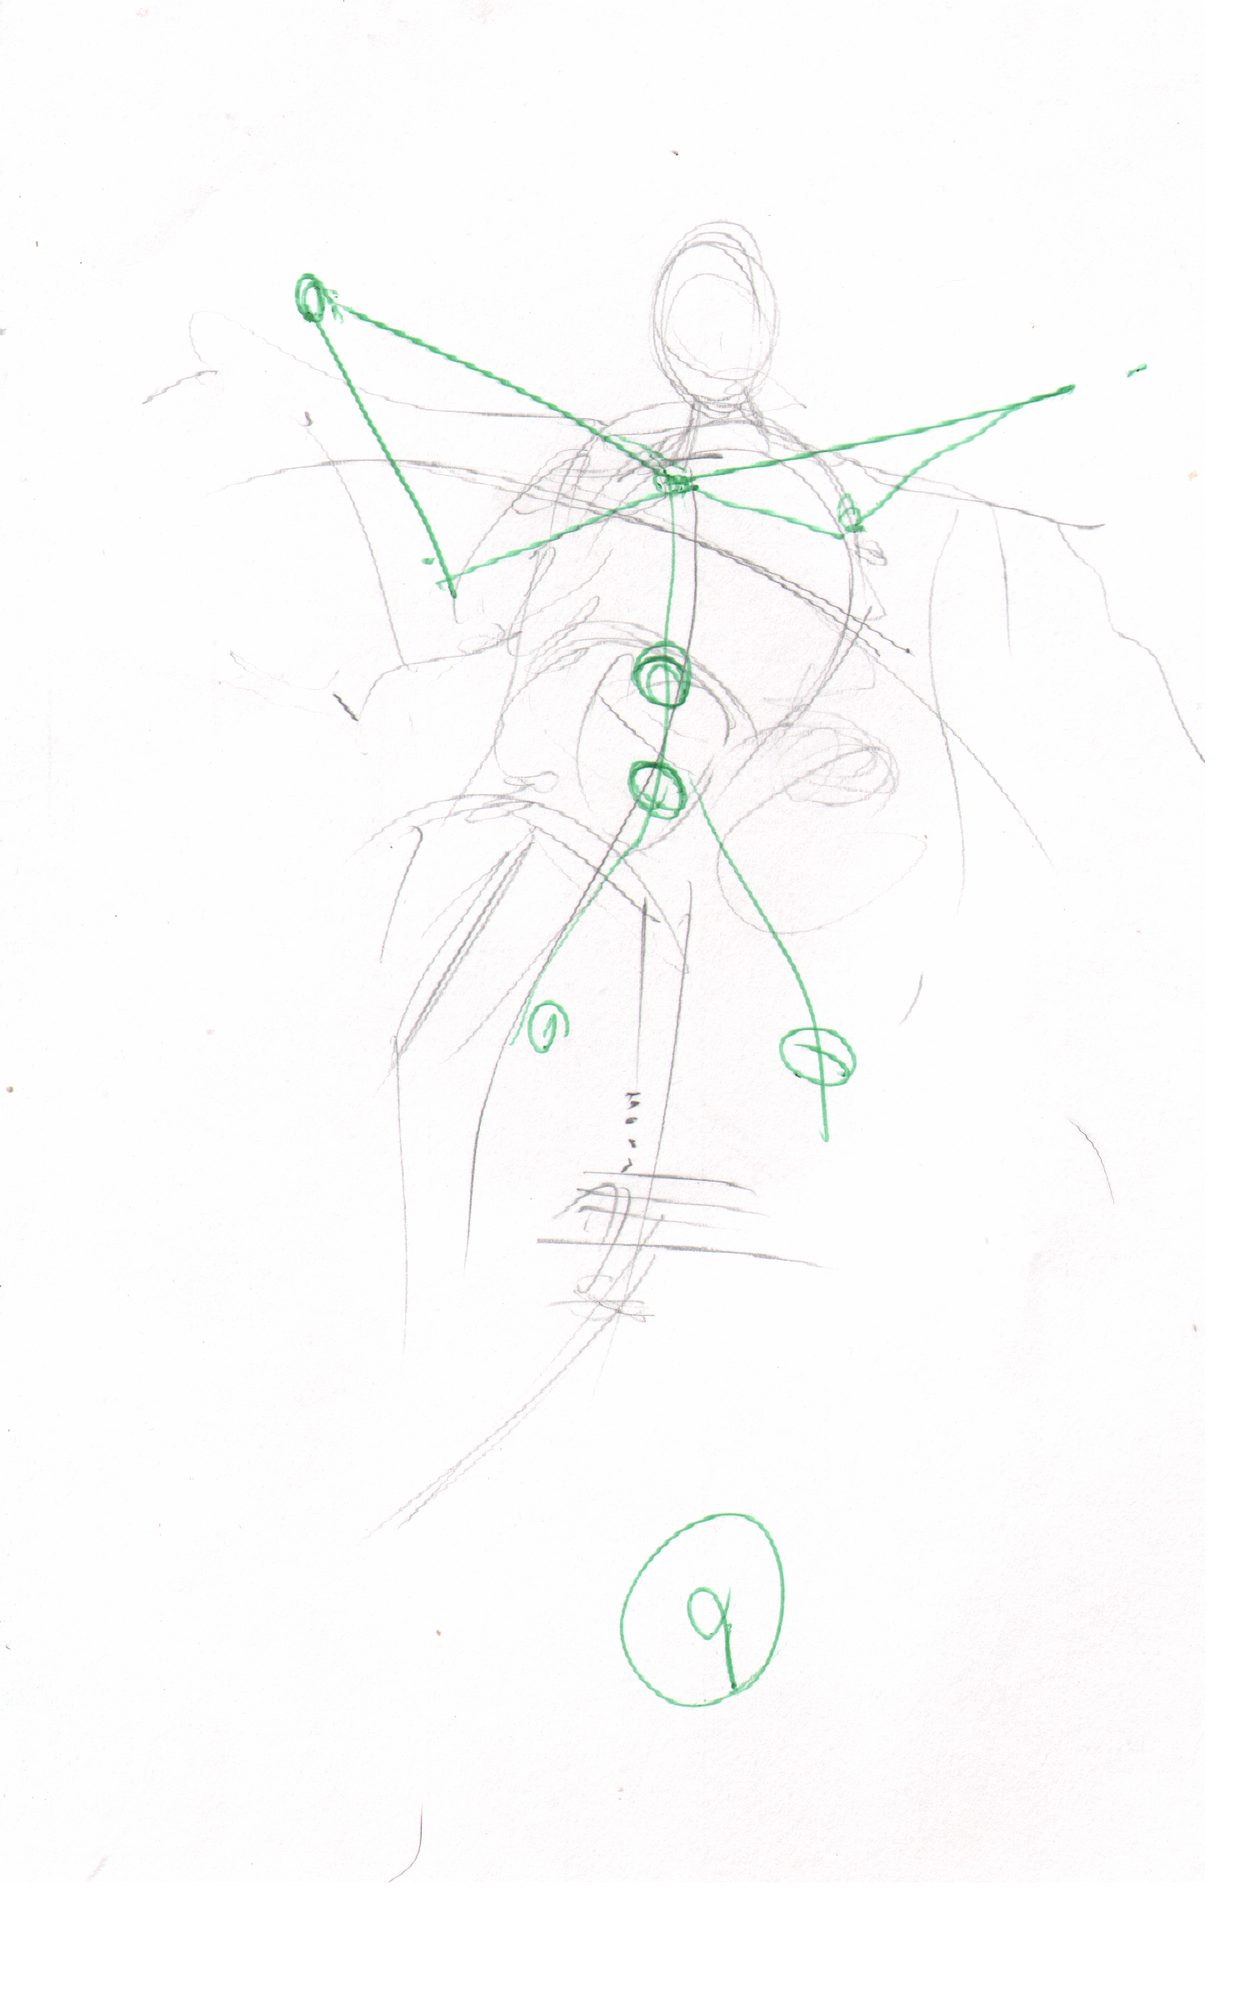
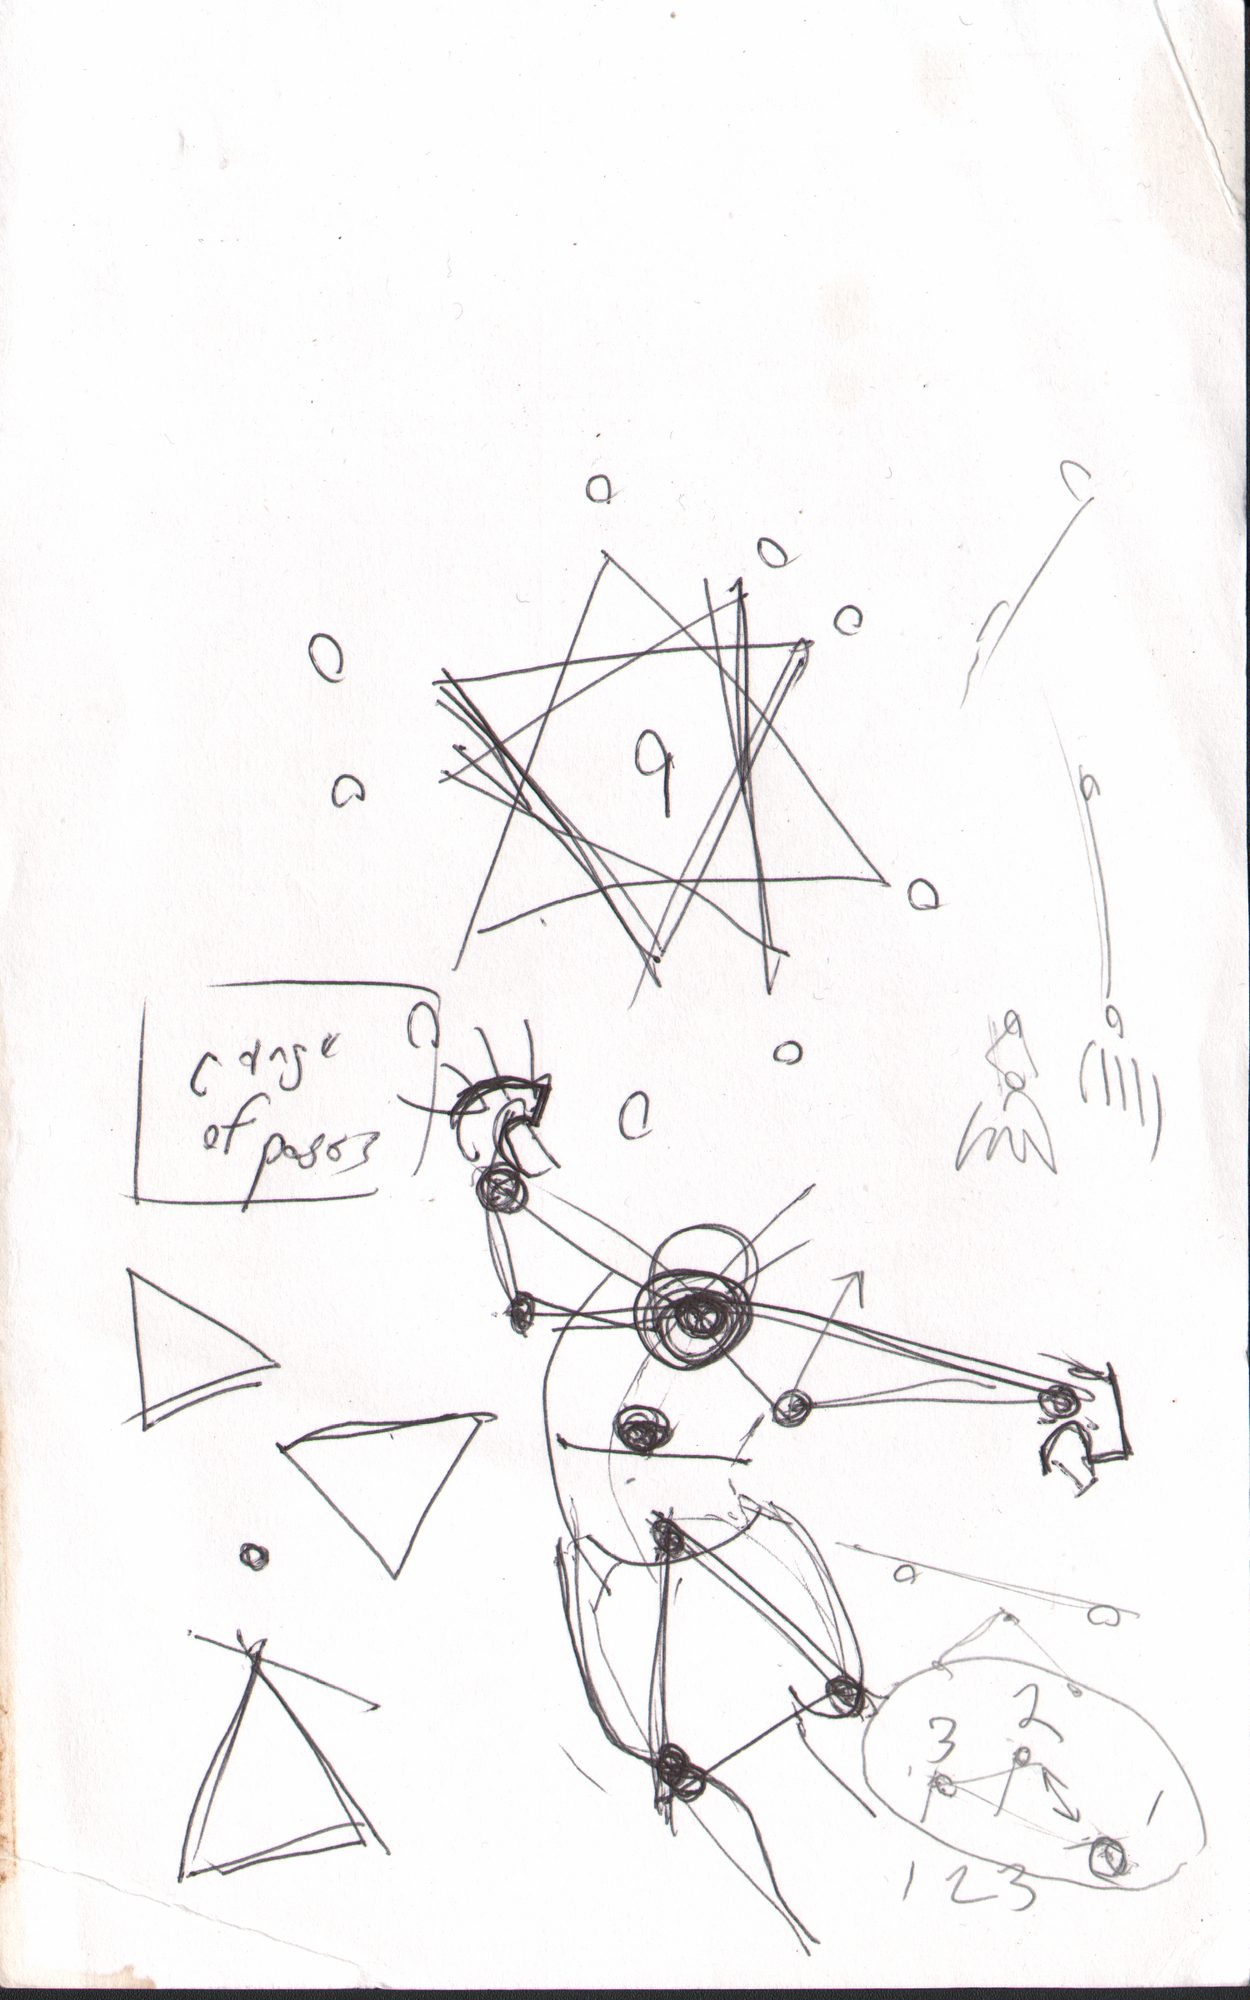
KEY CONCEPTS
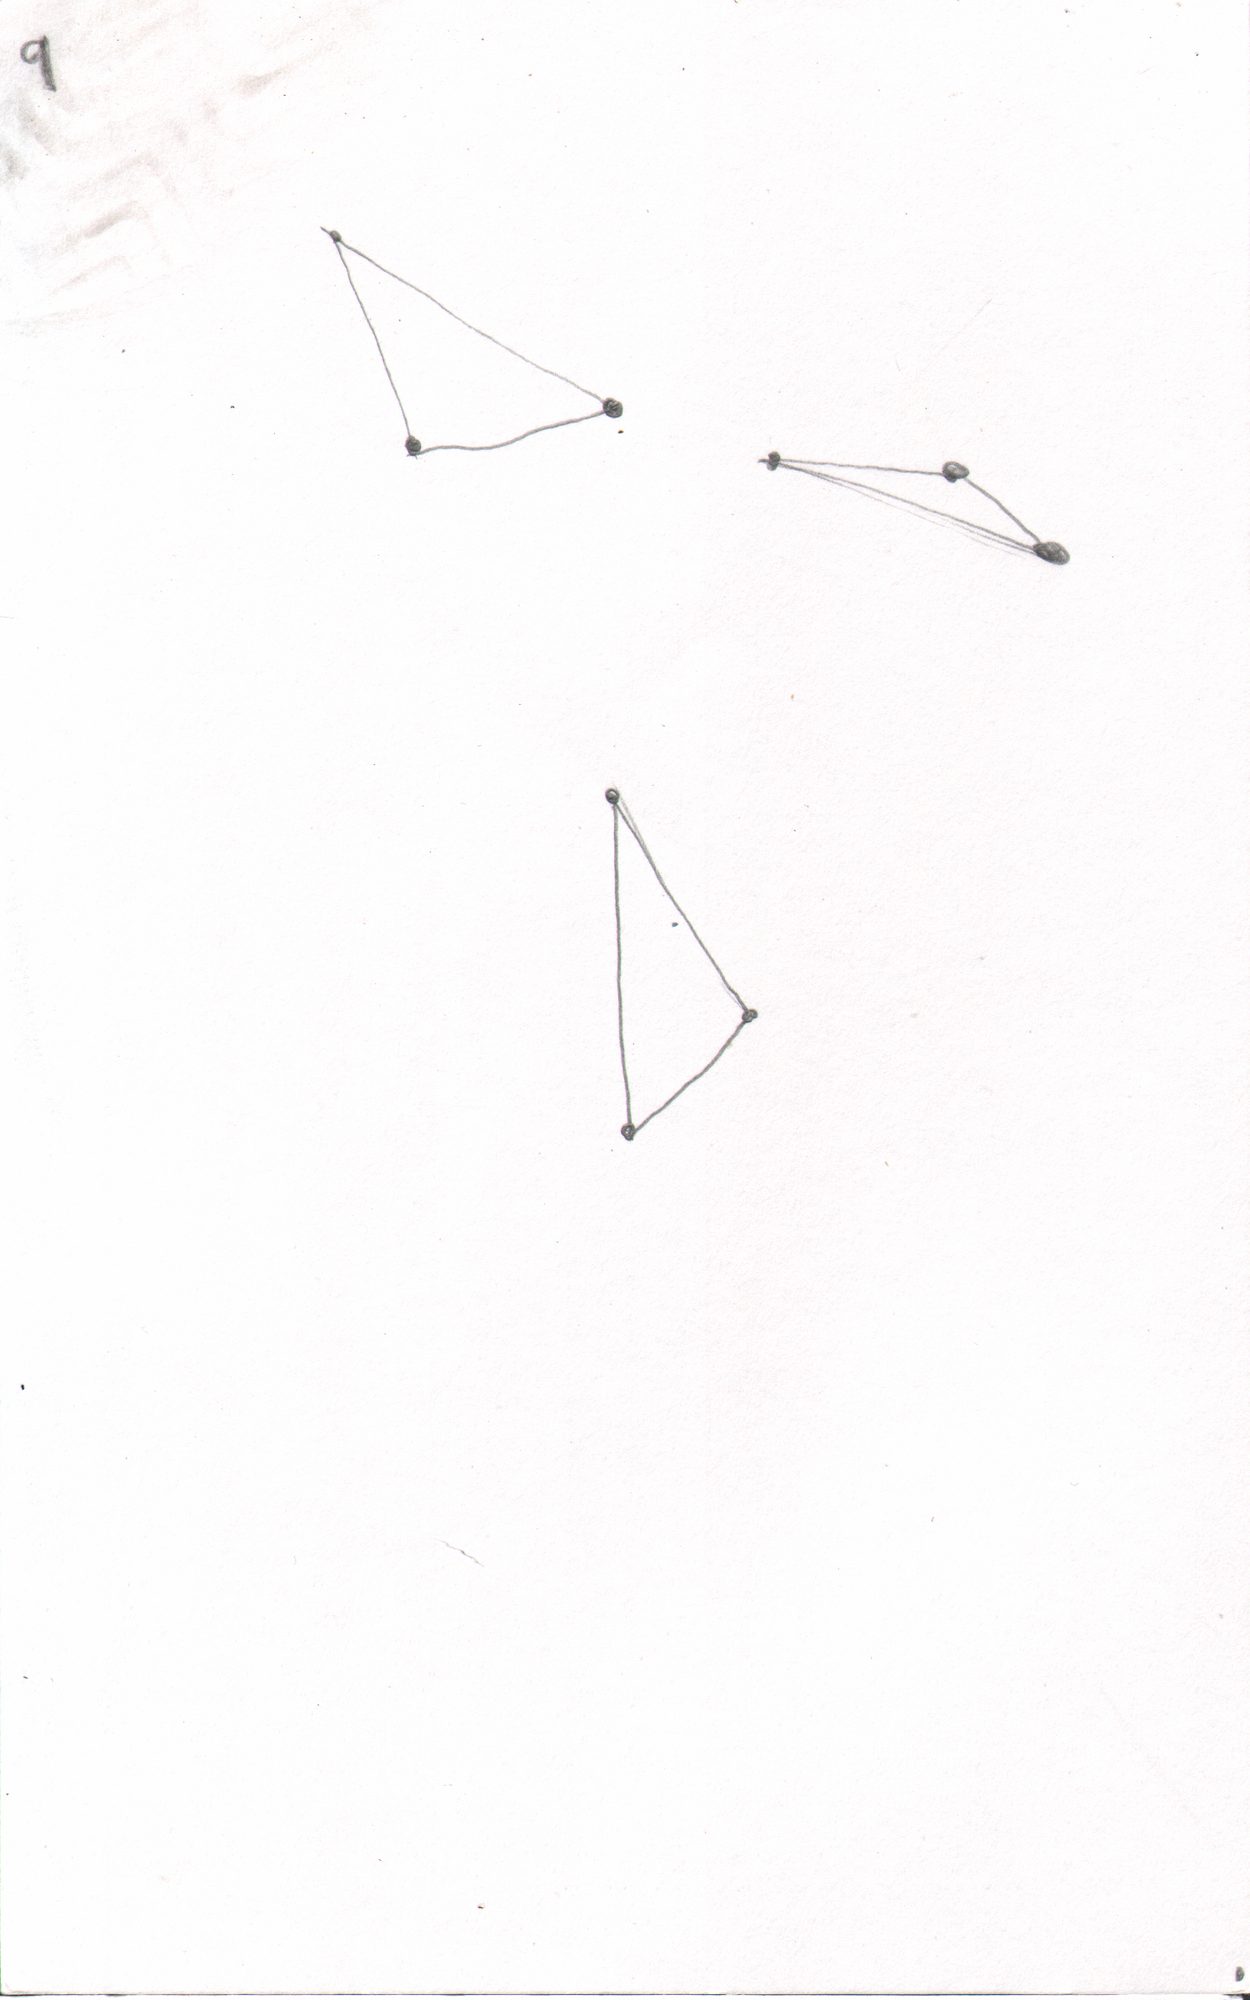
- 9 = three triangles (3 × 3 = 9)
- Triangle 1: negative space between the two legs (groin to knees)
- Triangle 2: space between the right arm and the torso
- Triangle 3: space between the left arm and the torso
- All triangle angles sum to 180° — use this to verify pose accuracy
- Place the three triangles FIRST — before any muscles
Before drawing a single muscle, establish three triangles. These are the negative space — the shapes of the air around the figure rather than the figure itself. When these three shapes are correctly placed, the pose is correct. The muscles simply fill in around them.
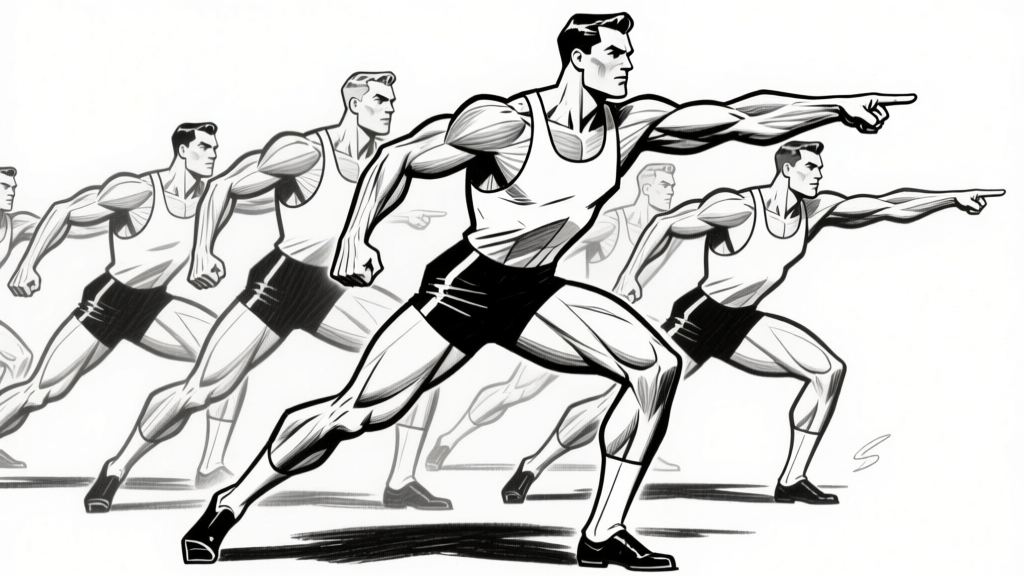
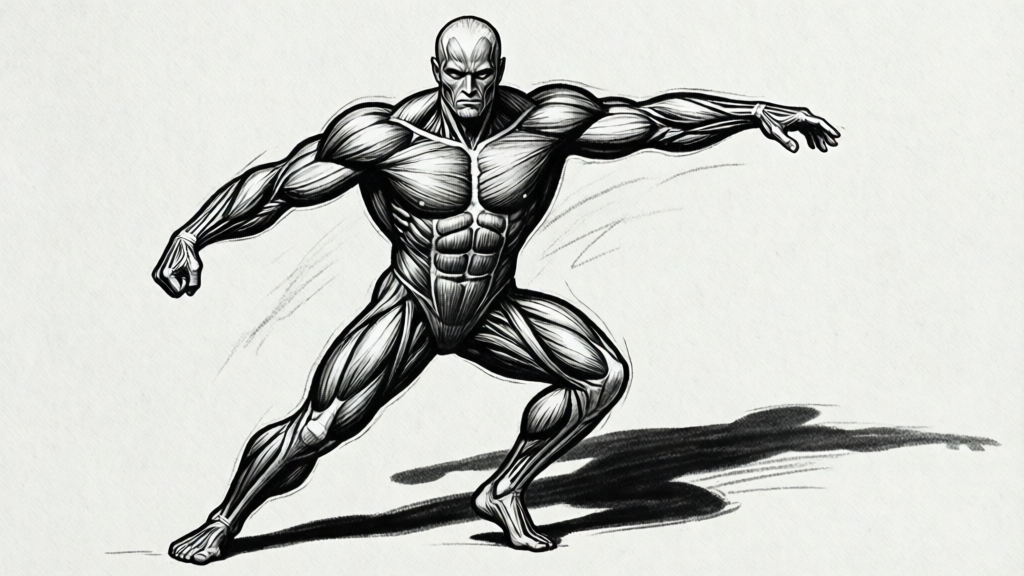
For a basic standing figure with arms at sides: the two leg triangles point downward, the two arm triangles are narrow vertical slivers. For a power stance with arms extended: all triangles are large and dynamic. For a running figure: the triangles are asymmetrical — one leg forward, one back, creating a dramatically different triangle layout that immediately reads as motion.
The math check: in any single triangle, the three interior angles always sum to exactly 180 degrees. Use this as a reality check when a limb angle looks wrong — could those three angles add to 180? If not, something needs adjustment. Triangulation is not just a drawing tool — it is a structural verification system.
REFERENCE GALLERY