KEY CONCEPTS
- Decide your light source direction BEFORE making any shading marks
- Forms catching light: upper clavicle shelf, upper pec, upper abs, shoulders
- Forms in shadow: undersides of pecs, spaces between abs, armpits, obliques
- For comic/heroic work: bright lights + deep shadows — minimal mid-tone
- The chisel approach: work from light to dark, add depth progressively
- Rim lighting = backlight creating glowing edges — the superhero signature technique
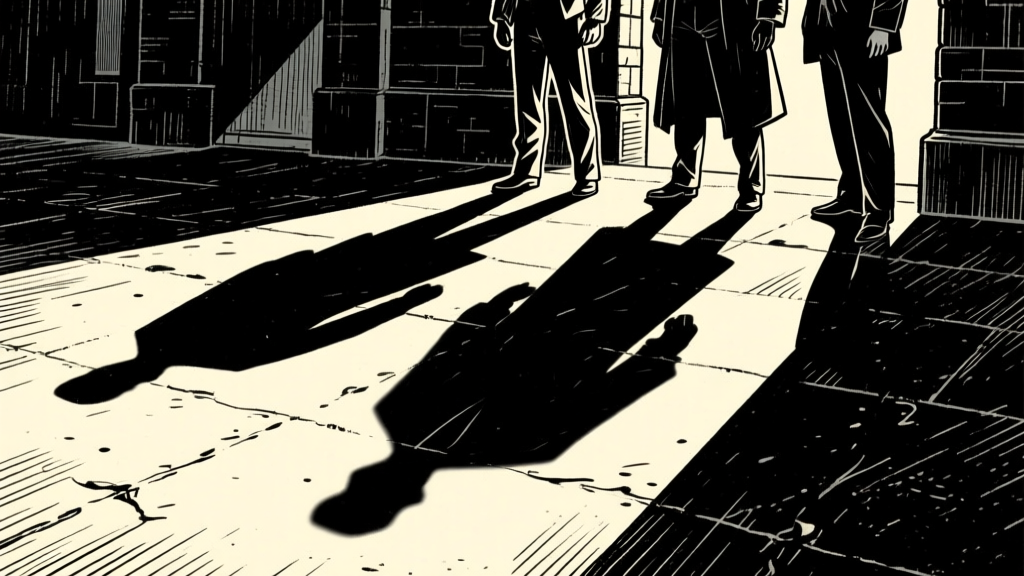
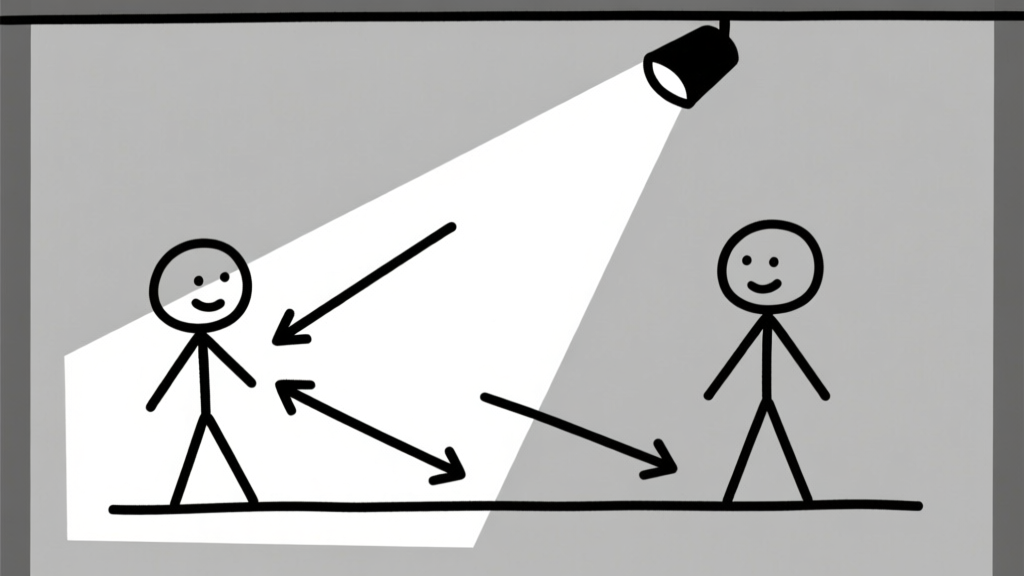
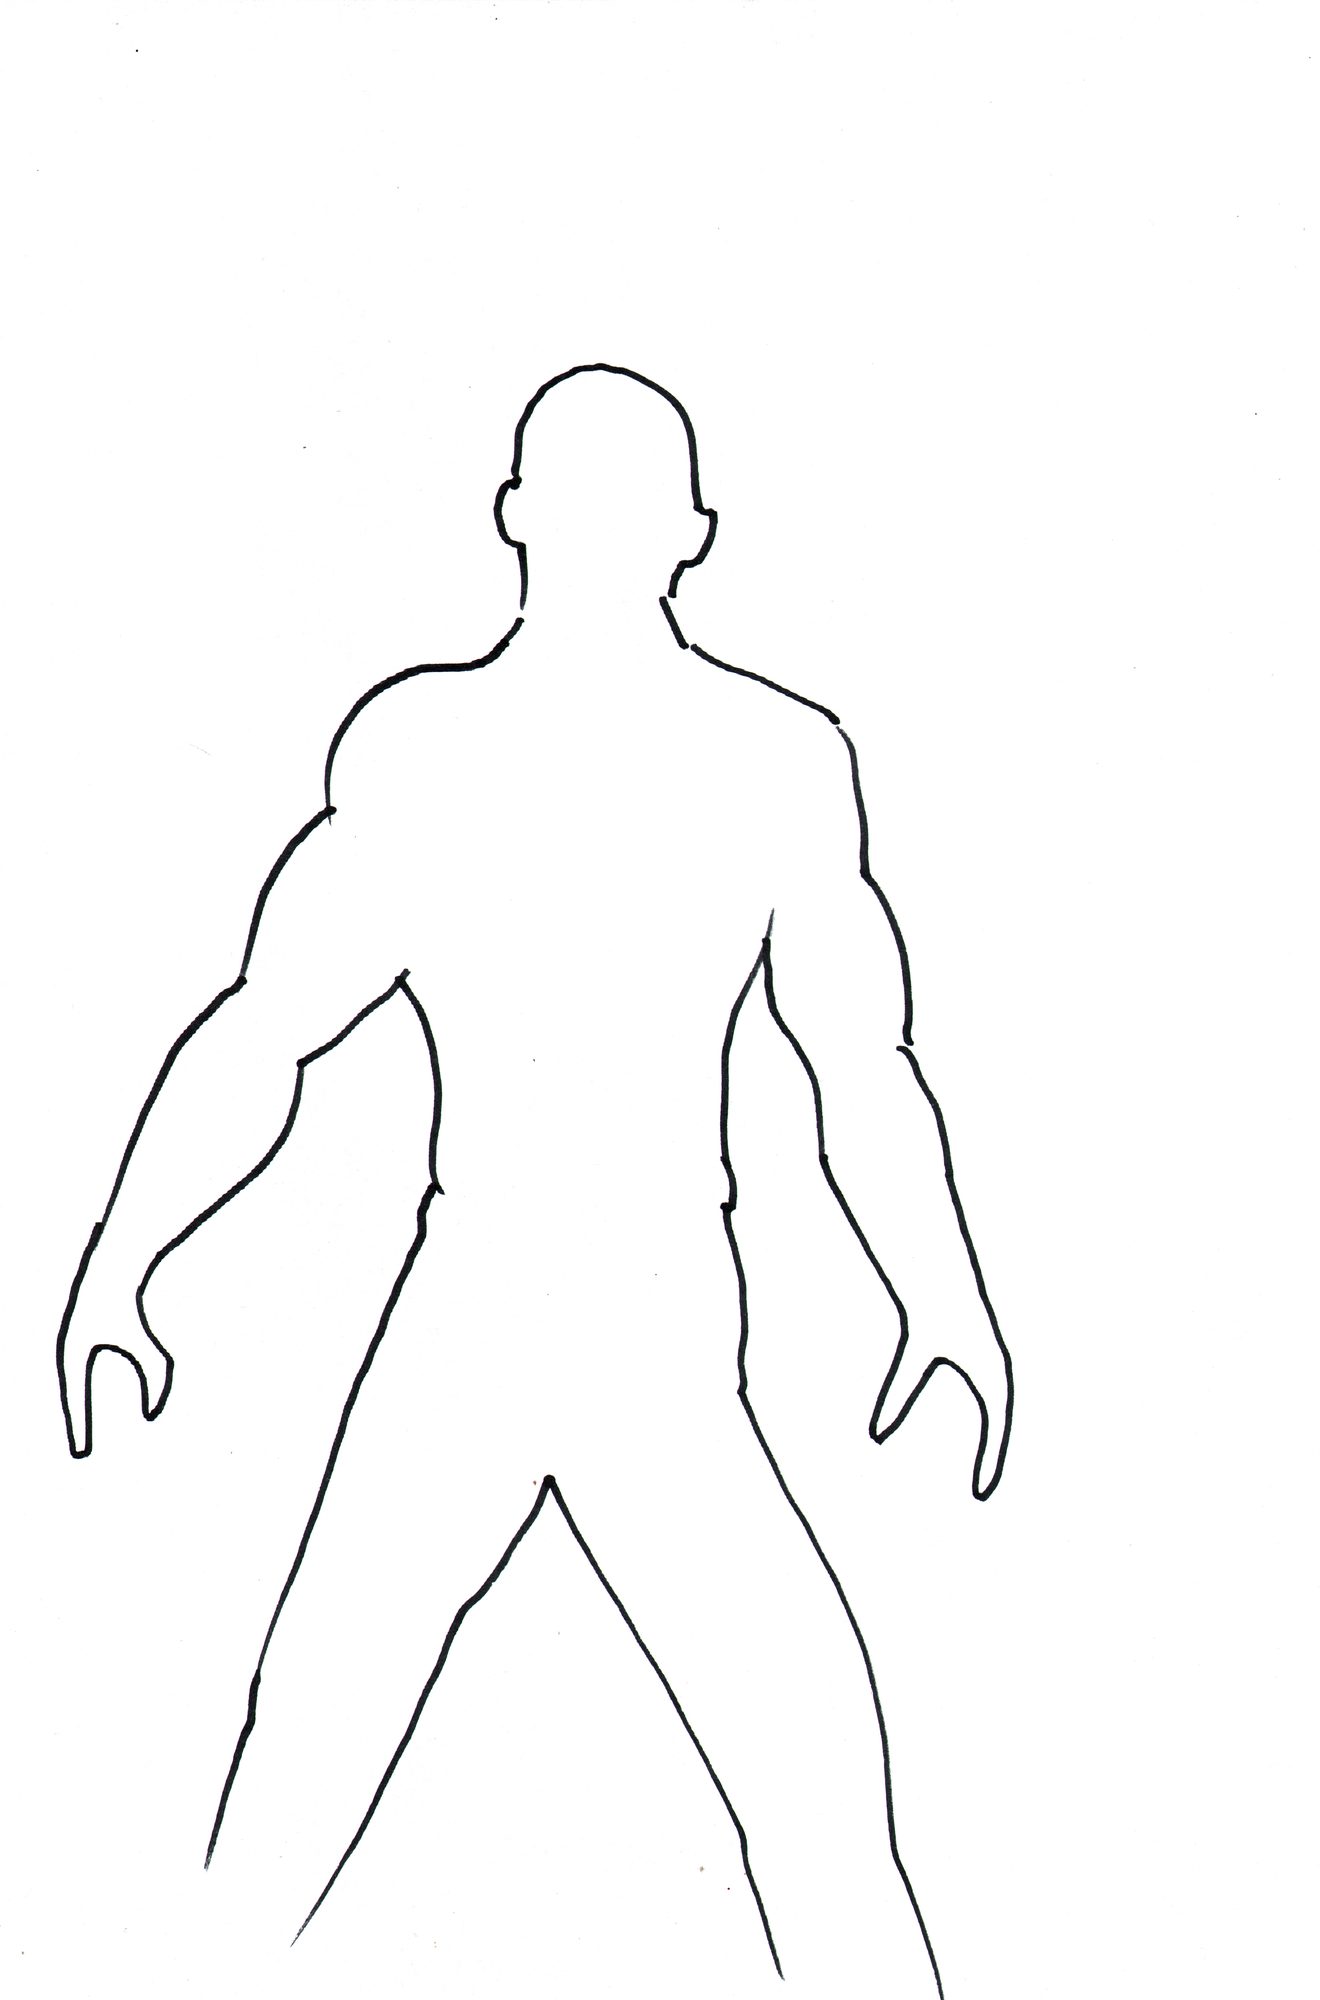
Decide on your light source direction before you make a single shading mark. Is it coming from upper left? Upper right? Directly in front? From below? This one decision determines every single shading choice that follows. All subsequent marks must be consistent with it.
On the torso, the forms that catch light are: the upper clavicle ledge, the upper pectoral shelf, the top of the ab blocks, and the shoulder caps. The forms in shadow are: the undersides of the pectorals, the spaces between ab blocks, the armpit zone, and the obliques turning away from the light.
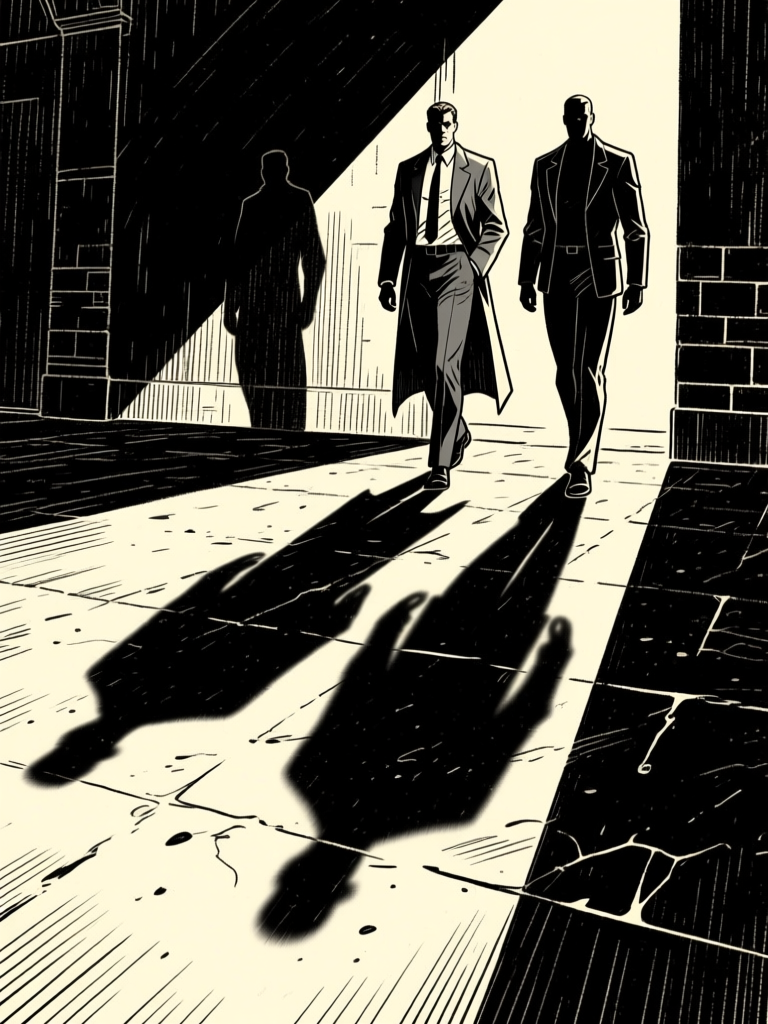
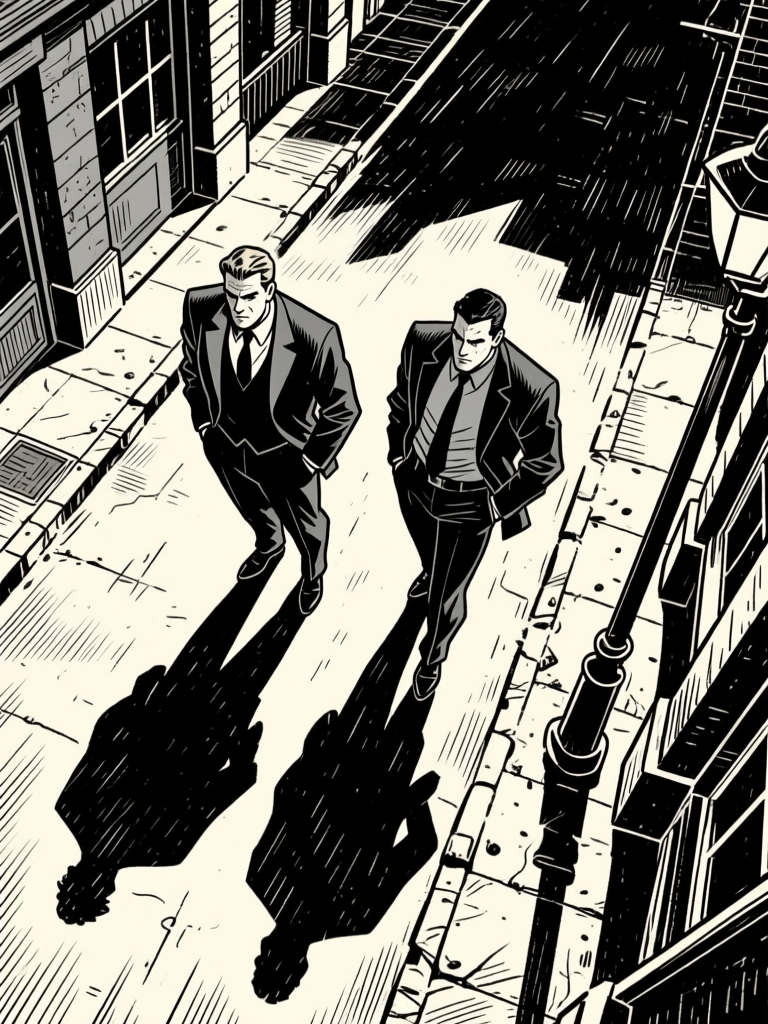
For heroic/comic figures, use dramatic contrast — bright lights and deep shadows with minimal mid-tone. This creates a bold, readable silhouette that works at small sizes in a printed comic panel. The "chisel" technique: think of adding dark marks the way a sculptor chips away stone. Start with your lightest tone (the paper). Then chisel in darker areas progressively. You can always go darker — you cannot easily go lighter once marks are made.
REFERENCE GALLERY